Published: Apr 4, 2023 by BeatChoi
LightshipAR SDK
포켓몬고의 개발사로 잘 알려진 Niantic에서 제공하는 증강현실 SDK 입니다.
기본적으로 포켓몬고에 적용되는 기능들을 구현할 수 있으며 기본적인 지면인식, 공간인식을 포함하여
지오펜싱을 활용한 GPS기반 위치인식, 환경 세그멘테이션 등의 기능들을 활용할 수 있습니다.
이번 강좌에서는 핸드 트랙킹 기능을 활용하여 손에 객체가 따라다니는 콘텐츠를 개발해 보도록 하겠습니다.
콘텐츠 개발
프로젝트 세팅
이전 포스팅인 LightshipAR 프로젝트 세팅를 참조하여 세팅합니다.
씬 세팅
빈 게임 오브젝트를 생성한 후 이름을 ARSession으로 변경합니다.
해당 오브젝트에 ARSessionManager.cs, CapabilityChecker.cs, AndroidPermissionRequester.cs 컴포넌트를 부착합니다.
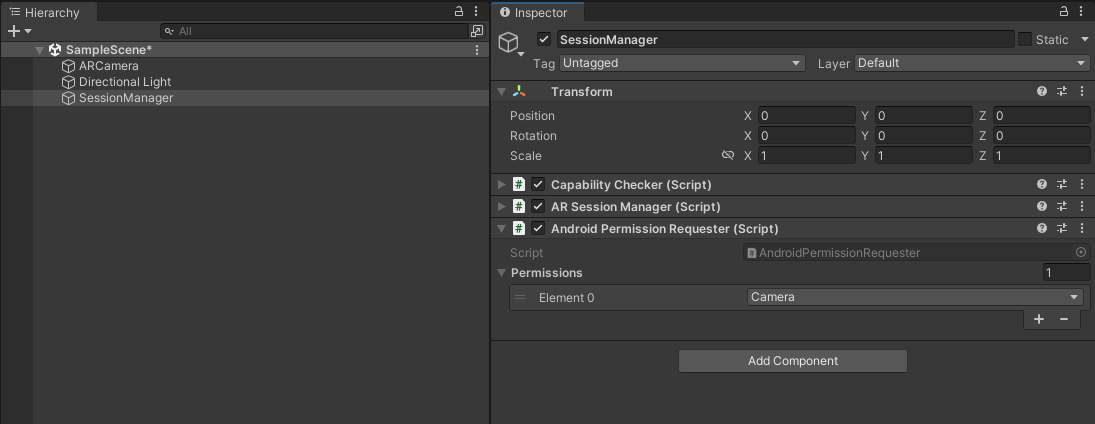
<01. ARSession 오브젝트 생성 >
Main Camera 오브젝트의 이름을 ARCamera로 변경하고
ARCameraPositionHelper.cs, ARRenderingManager.cs스크립트를 추가합니다.
HandTrackingManager.cs, HandTrackingExampleManager.cs 컴포넌트를 추가합니다.
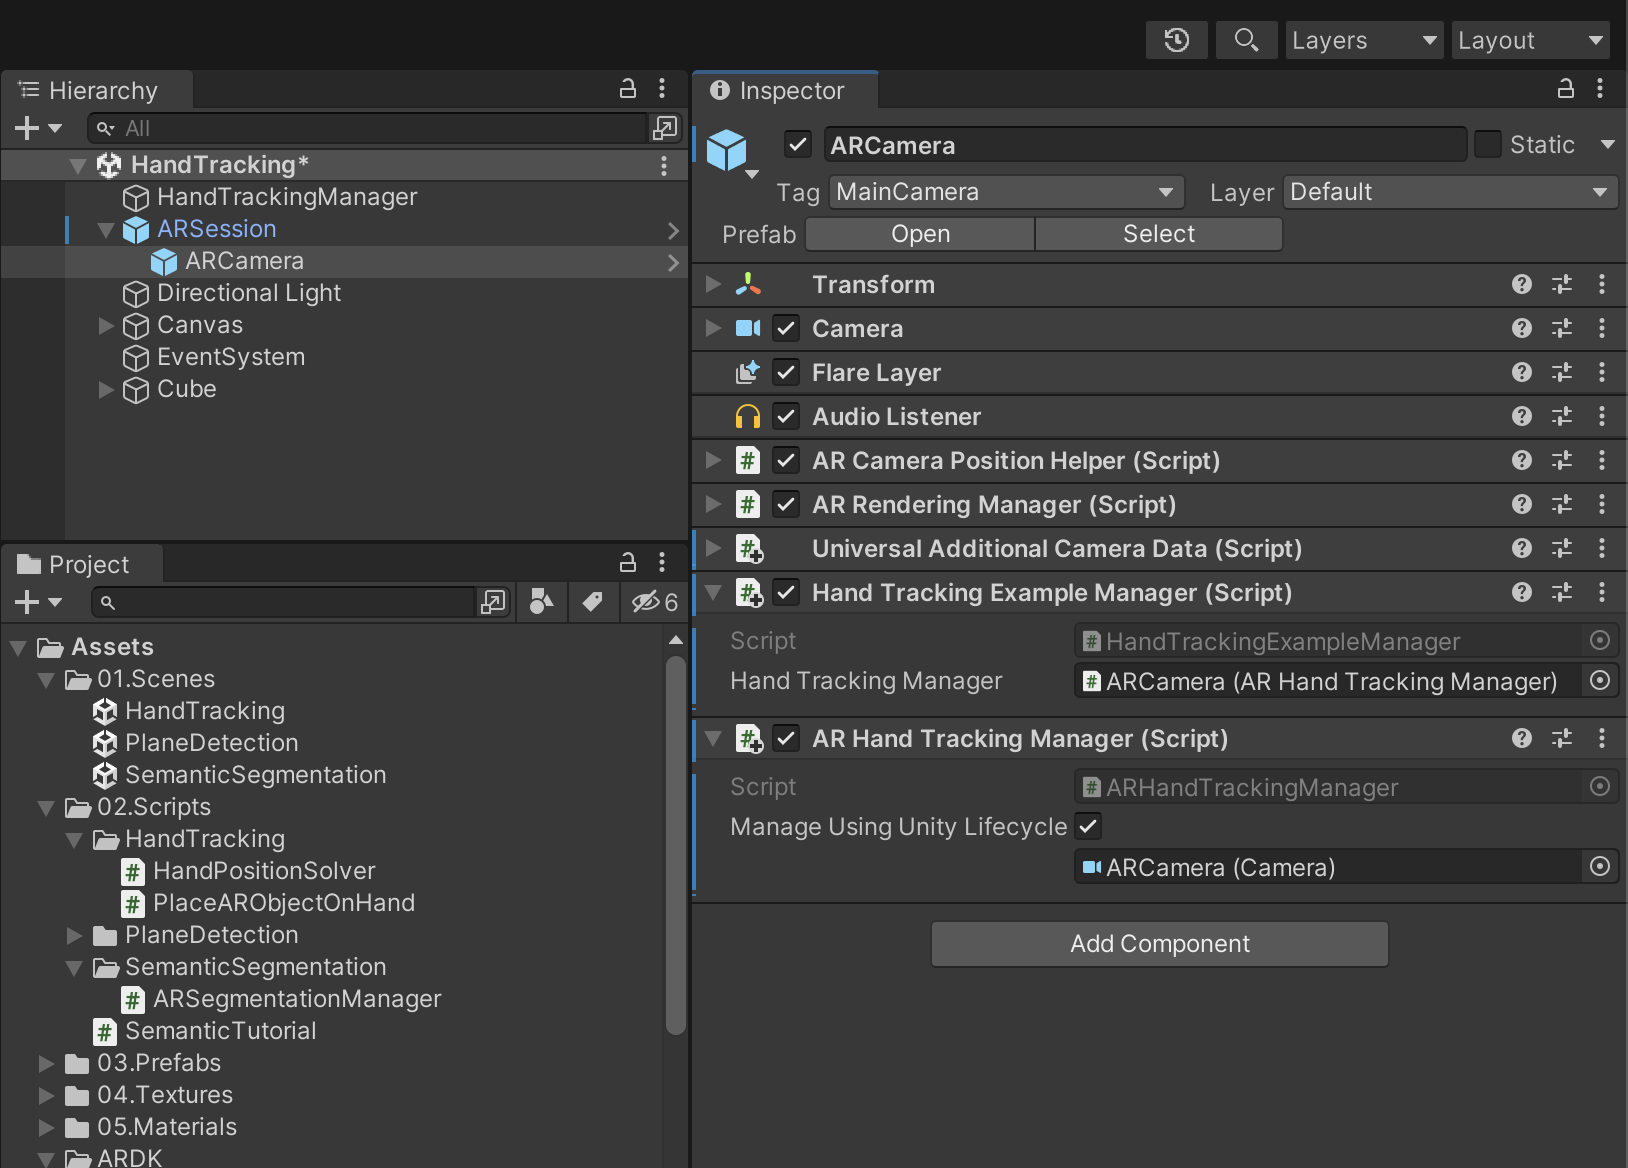
<02. HandTrackingManager 컴포넌트 추가 >
위와 같이 세팅 후 빌드를 하고 테스트를 하면 다음과 같이 손을 인식하는 것을 볼 수 있습니다.
1차 테스트
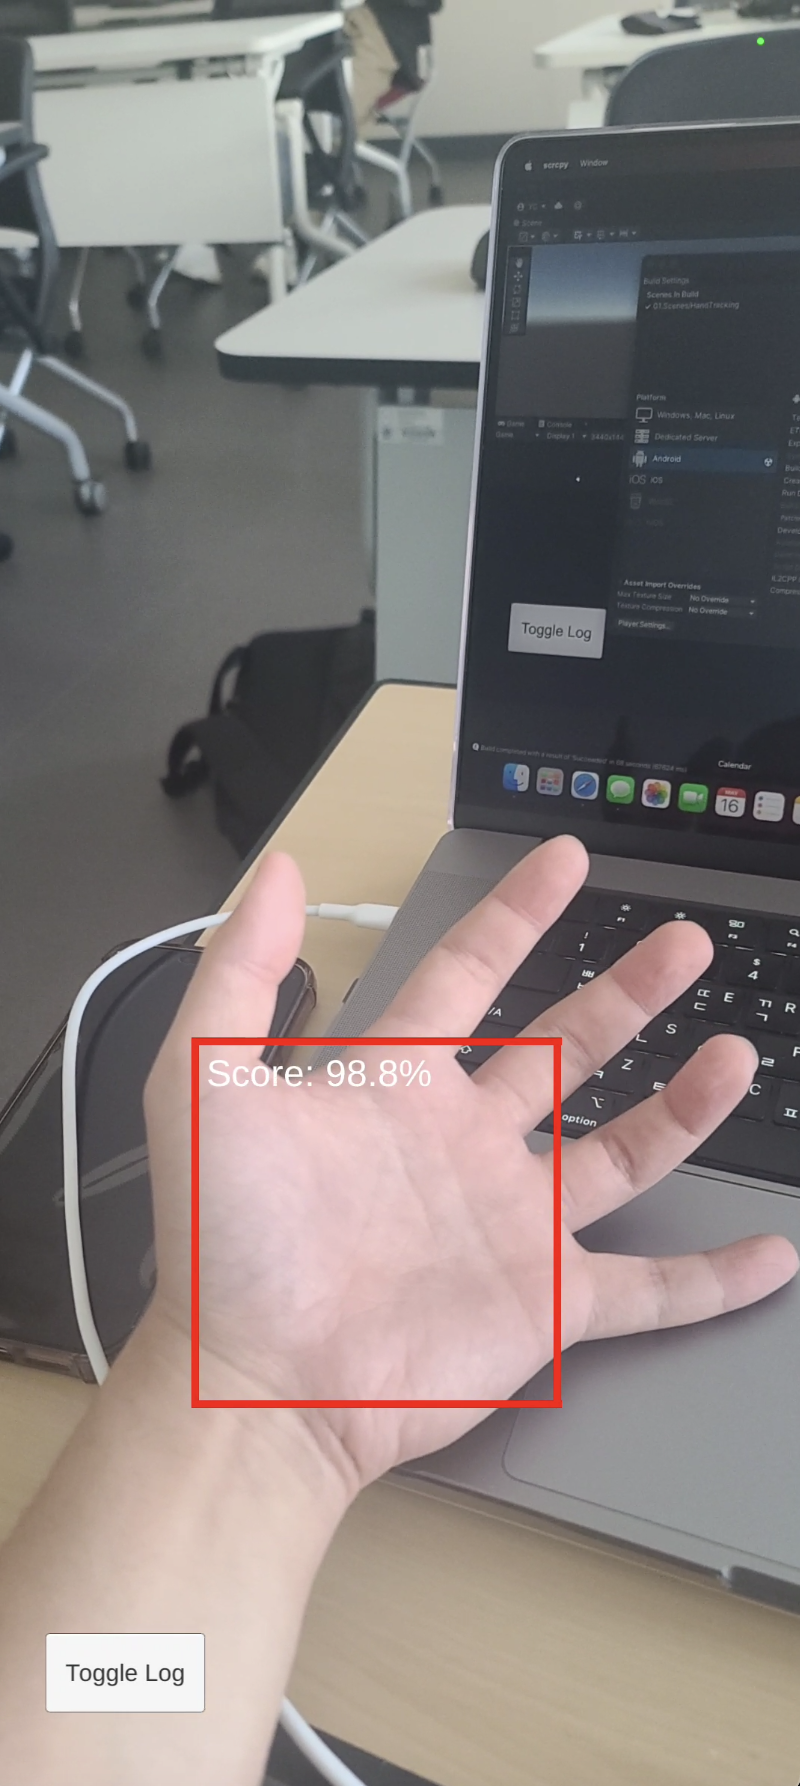
<03. 1차 테스트 >
스크립트 생성
HandPositionSolver.cs스크립트를 생성합니다.
그리고 다음과 같이 스크립트를 작성합니다.
1
2
3
4
5
6
7
8
9
10
11
12
13
14
15
16
17
18
19
20
21
22
23
24
25
26
27
28
29
30
31
32
33
34
35
36
37
38
39
40
41
42
43
44
45
46
47
48
49
50
using System.Collections;
using System.Collections.Generic;
using UnityEngine;
using ARDK.Extensions;
using Niantic.ARDK.AR.Awareness;
using System;

public class HandPositionSolver : MonoBehaviour
{
    [SerializeField] private ARHandTrackingManager handTrackingManager;
    [SerializeField] private Camera ARCamera;
    [SerializeField] private float minHandConfidence = 0.85f;

    private Vector3 handPosition;
    public Vector3 HandPosition { get => handPosition; }

    // Start is called before the first frame update
    void Start()
    {
        handTrackingManager.HandTrackingUpdated += HandTrackingUpdated;
    }

    private void OnDestroy()
    {
        handTrackingManager.HandTrackingUpdated -= HandTrackingUpdated;
    }

    private void HandTrackingUpdated(HumanTrackingArgs args)
    {
        var detections = args.TrackingData?.AlignedDetections;
        if(detections == null)
        {
            return;
        }

        foreach(var detection in detections)
        {
            if(detection.Confidence < minHandConfidence)
            {
                return;
            }

            Vector3 detectionSize = new Vector3(detection.Rect.width, detection.Rect.height, 0);
            float depthEstimation = 2.0f + Mathf.Abs(1 - detectionSize.magnitude);
            handPosition = ARCamera.ViewportToWorldPoint(new Vector3(detection.Rect.center.x, 1 - detection.Rect.center.y, depthEstimation));

        }
    }

}
PlaceAROjbectOnHand.cs스크립트를 생성합니다.
그리고 다음과 같이 스크립트를 작성합니다.
1
2
3
4
5
6
7
8
9
10
11
12
13
14
15
16
17
18
19
20
21
22
23
24
25
26
27
28
29
30
31
32
33
34
35
36
37
38
39
40
41
42
43
44
using System.Collections;
using System.Collections.Generic;
using UnityEngine;

public class PlaceARObjectOnHand : MonoBehaviour
{
    [SerializeField] private HandPositionSolver handPositionSolver;
    [SerializeField] private GameObject AROjbect;
    [SerializeField] private float speedMovement = 0.5f;
    [SerializeField] private float speedRotation = 25.0f;

    private float minDistance = 0.05f;
    private float minAngleMagnitude = 2.0f;
    private bool shouldAdjustRotation;

    private void PlaceObjectOnHand(Vector3 handPosition)
    {
        float distance = Vector3.Distance(handPosition, AROjbect.transform.position);
        AROjbect.transform.position = Vector3.MoveTowards(AROjbect.transform.position, handPosition, speedMovement * Time.deltaTime);
        if(distance >= minDistance)
        {
            AROjbect.transform.LookAt(handPosition);
            shouldAdjustRotation = true;
        }
        else
        {
            if (shouldAdjustRotation)
            {
                AROjbect.transform.rotation = Quaternion.Slerp(AROjbect.transform.rotation, Quaternion.identity, 2 * Time.deltaTime);
                Vector3 angles = AROjbect.transform.rotation.eulerAngles;
                shouldAdjustRotation = angles.magnitude >= minAngleMagnitude;
            }
            {
                AROjbect.transform.Rotate(Vector3.up * speedRotation * Time.deltaTime);
            }
        }
    }

    // Update is called once per frame
    void Update()
    {
        PlaceObjectOnHand(handPositionSolver.HandPosition);
    }
}
씬에 빈 게임 오브젝트를 생성하고 HandTrackingManager로 이름을 변경한 후 위 두 스크립트들을 해당 오브젝트에 인스턴스화 시켜줍니다.
씬에 Cube오브젝트를 생성하고 스케일을 각각 0.5 로 변경합니다.
해당 오브젝트를 PlaceObjectOnHand 컴포넌트의 ARObject 항목에 연결합니다.
나머지 항목들도 아래 사진과 같이 수정합니다.
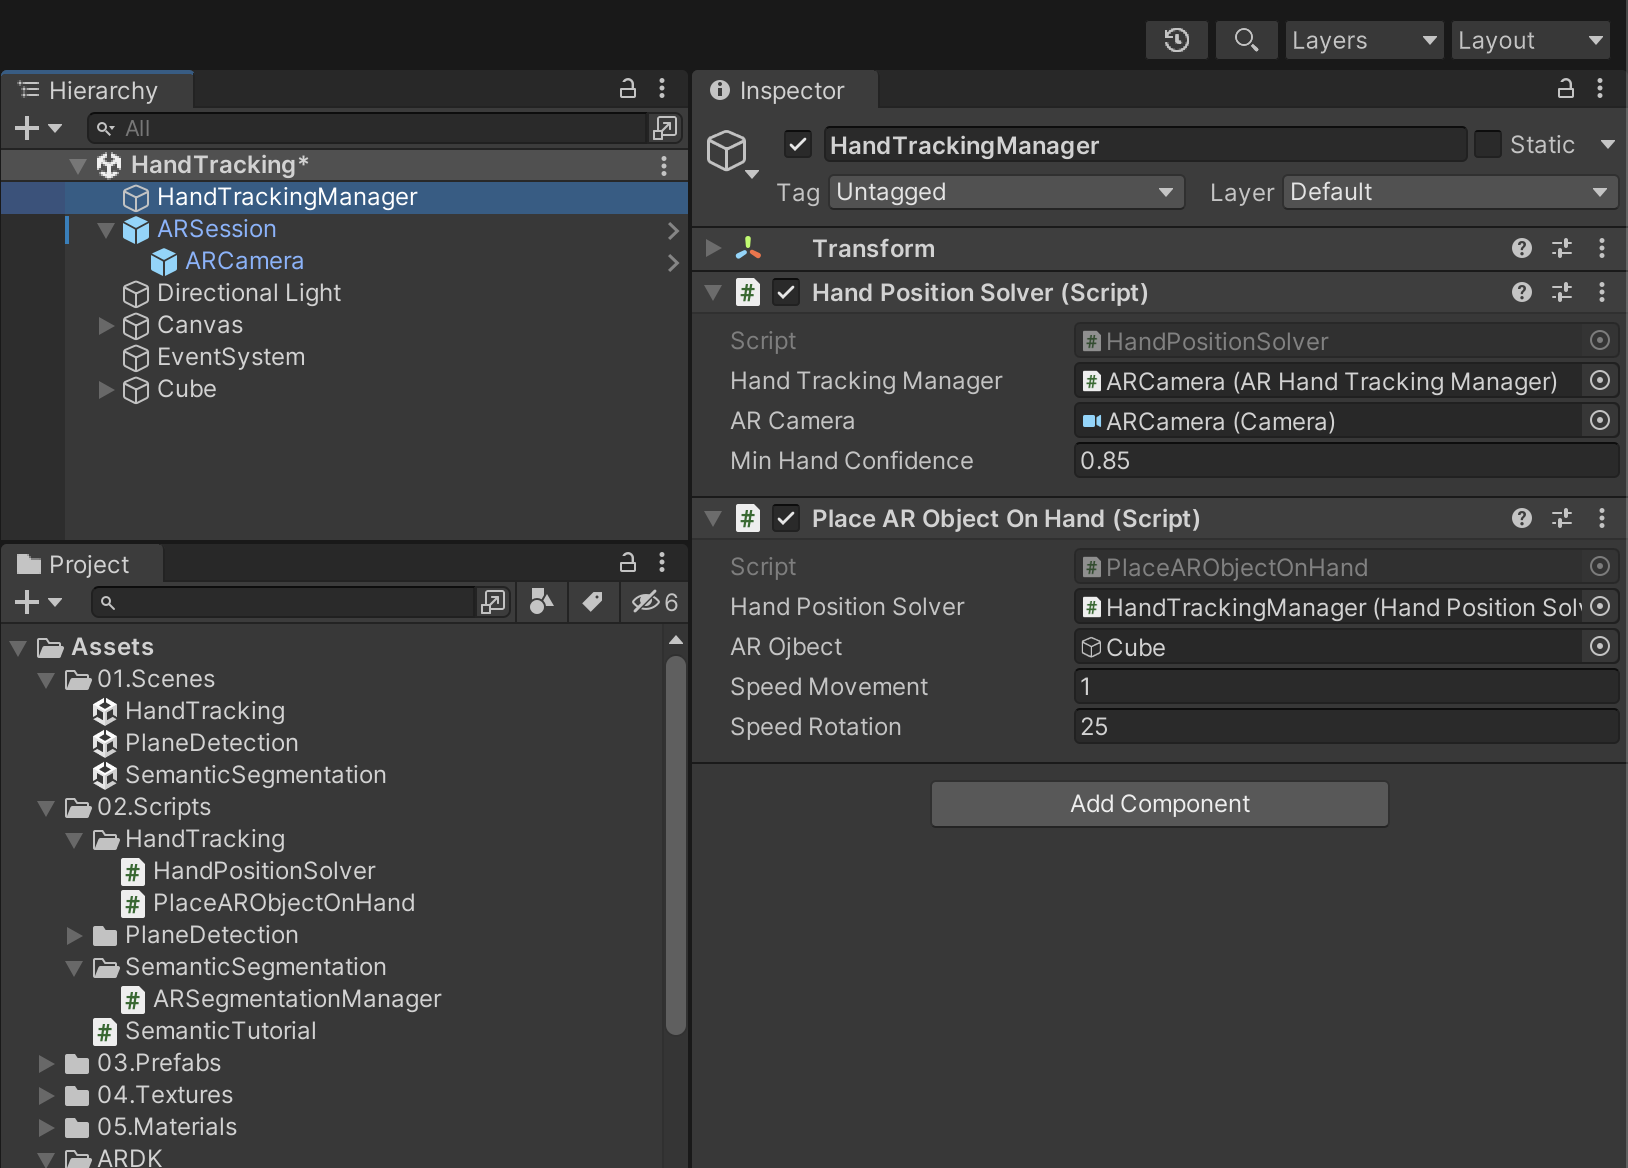
<04. 스크립트 인스턴스화 >
마무리
해당 프로젝트를 빌드하여 모바일 디바이스에서 확인해봅니다.
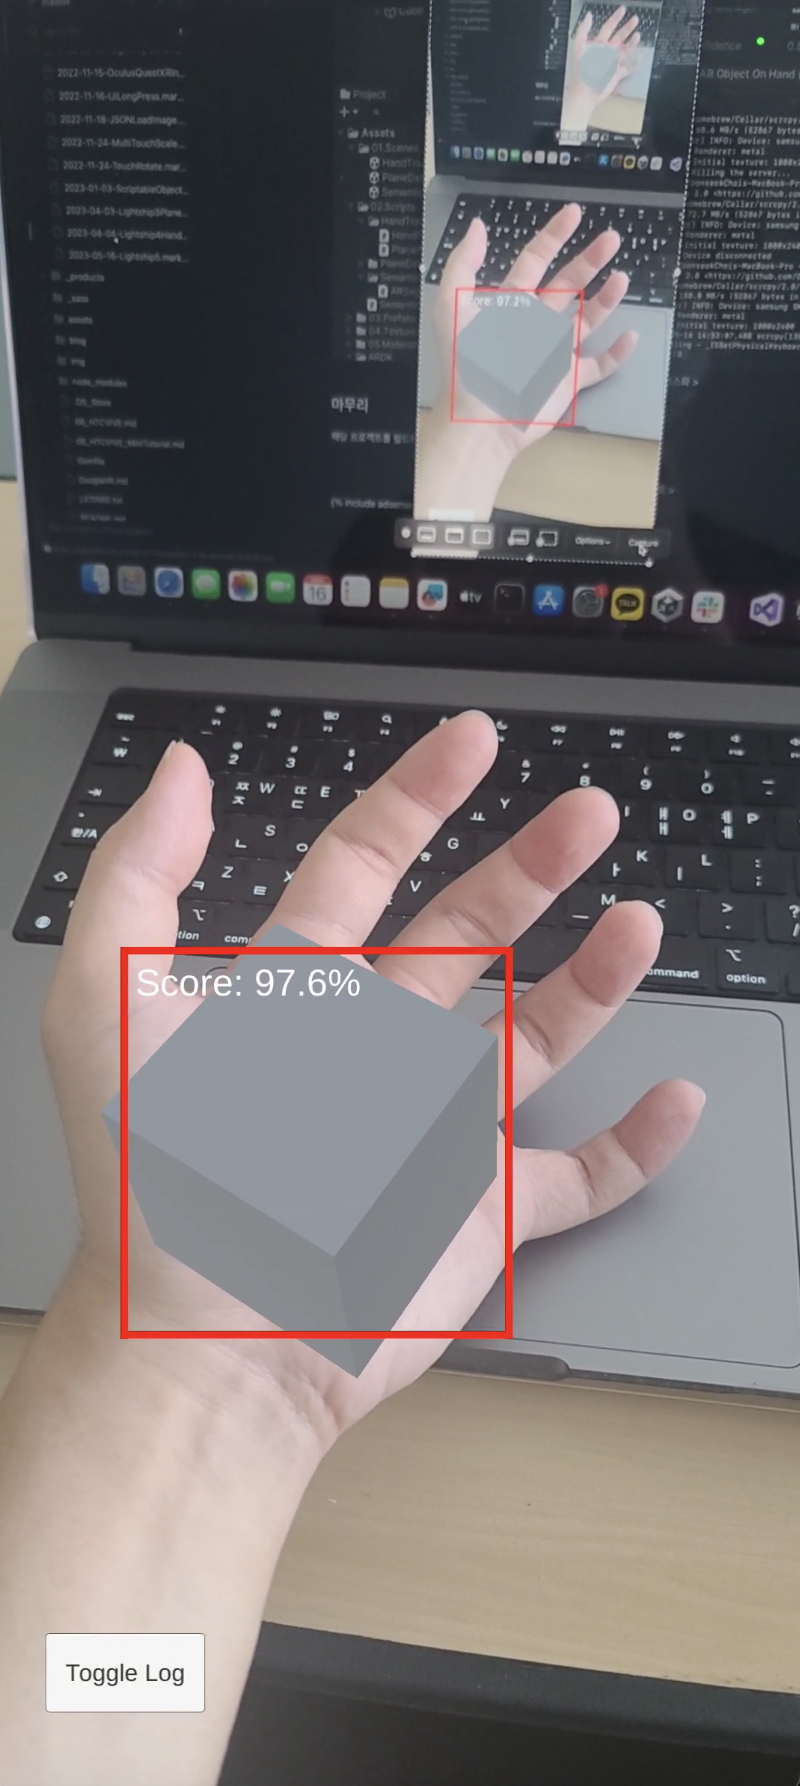
<05. 마지막 테스트 >