Published: Jul 16, 2021 by BeatChoi
캐릭터의 이동 및 회전 :: Character Controller
이전 포스트의 Character Controller 컴포넌트를 활용하여 캐릭터를 이동 스크립트를 간편하게 작성해봅니다.
유니티3D 에디터에서
스크립트 생성
프로젝트 창에서 PlayerController.cs 스크립트를 생성합니다.
PlayerController.cs스크립트를 열어 다음과 같이 작성합니다.
1
2
3
4
5
6
7
8
9
10
11
12
13
14
15
16
17
18
19
20
21
22
23
24
25
26
27
28
29
30
31
32
using System.Collections;
using System.Collections.Generic;
using UnityEngine;

public class PlayerController : MonoBehaviour
{
    CharacterController CharacterController;

    public float moveSpeed = 8f;
    public float maxTurnSpeed = 150f;

    public float horizontal;
    public float vertical;

    void Start()
    {
        CharacterController = GetComponent<CharacterController>();
    }
    // Update is called once per frame
    void Update()
    {
        horizontal = Input.GetAxis("Horizontal");
        vertical = Input.GetAxis("Vertical");
    }

    private void FixedUpdate()
    {
        Vector3 direction = new Vector3(horizontal, 0, vertical);
        direction *= moveSpeed;
        CharacterController.SimpleMove(direction);
    }
}
이전 포스트와 다른점은
- 키보드 Input 값을 따로 설정하지 않고 종,횡 방향변수와
Move메소드를 이용해 이동지시. FixedUpdate를 활용하여 차후 네트워킹에 대비. 가 있습니다.
horizontal 과 veritcal이라는 변수를 선언하고 여기에 GetAxis 메소드를 활용하여 이동 축을 선언해 줍니다.
Fixed Update에서 Vector3 변수인 direction을 선언하고 direction의 각각 x축(좌우) z축(앞뒤)에 위 GetAxis로 가져온 축 변수를 담아줍니다.
direction에 movespeed를 곱해 이동 속도를 제어하고
캐릭터컨트롤러 클래스의 SimpleMove 메소드를 활용해 direction으로 이동할 수 있도록 호출합니다.
오브젝트 설정
이전 포스트와 동일하게
오브젝트에 PlayerController.cs 스크립트를 인스턴스화 시킵니다.
해당 오브젝트에 CharacterController 컴포넌트를 추가합니다.
해당 오브젝트에 Rigidbody 컴포넌트를 추가하고
Use Gravity 항목은 체크 해제
Is Kinematic 항목은 체크 해줍니다.
테스트
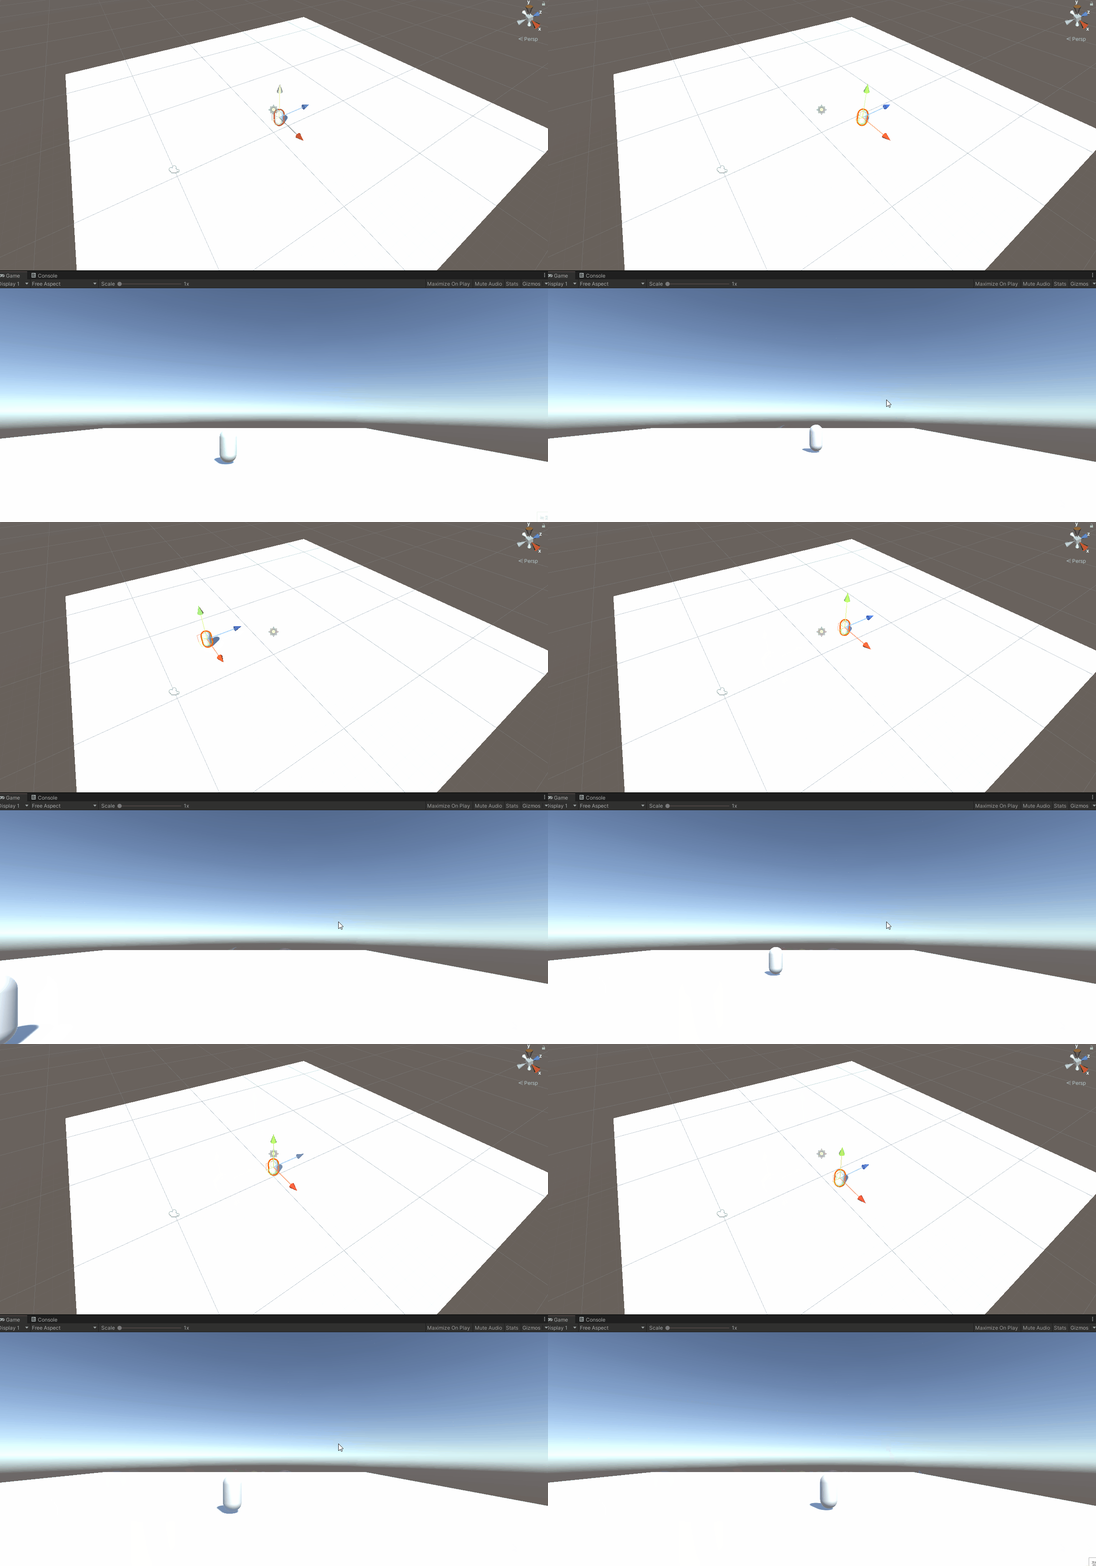
에디터 상단 플레이버튼을 눌러서 확인을 해봅니다.
Game창에서 키보드의 앞 뒤 좌 우 화살표 키 또는 W A S D 를 눌러 캐릭터가 이동을 하는지 확인합니다.

<05. 캐릭터 오브젝트의 이동 확인>

