화면 캡처 :: Screen Capture
UI 없이 화면을 캡쳐하는 방법을 알아봅니다.
해당 방법을 통해 사진 앱에서 사진을 찍거나 게임 내에서 UI를 제거한 스크린샷을 구현할 수 있습니다.
유니티3D 에디터에서
스크립트 작성
1
2
3
4
5
6
7
8
9
10
11
12
13
14
15
16
17
18
19
20
21
22
23
24
25
26
27
28
29
30
31
32
33
34
35
36
37
38
39
40
41
42
43
44
45
46
47
48
using UnityEngine.UI;
using System.IO;
.
.
.
    public RawImage PhotoDownload;
.
.
.
    public void TakeScreenShot()
    {
        StartCoroutine(TakeScreenShotCo());
    }

    IEnumerator TakeScreenShotCo()
    {
        Directory.CreateDirectory(Application.persistentDataPath + "/Photos");

        RenderTexture renderTexture = new RenderTexture((int)Screen.width, (int)Screen.height, 24);
        Texture2D texture = new Texture2D ((int)Screen.width, (int)Screen.height, TextureFormat.RGB24, false);
        yield return new WaitForEndOfFrame();
        Camera.main.targetTexture = renderTexture;
        Camera.main.Render();
        RenderTexture.active = renderTexture;
        texture.ReadPixels (new Rect(0, 0, (int)Screen.width, (int)Screen.height), 0, 0);
        texture.Apply ();
        PhotoDownload.texture = texture;

        Camera.main.targetTexture = null;
        RenderTexture.active = null;
    }

    public void SavePhoto()
    {
        byte[] bytes;
        string fileExt;

        Texture2D texture = new Texture2D((int)Screen.width, (int)Screen.height, TextureFormat.RGB24, false, true);
        texture = (Texture2D)PhotoDownload.mainTexture;

        bytes = texture.EncodeToJPG();
        fileExt = ".jpg";

        Camera.main.targetTexture = null;
        RenderTexture.active = null;
        string filename = System.DateTime.Now.ToString(("yyyyMMddHHmmss")) + fileExt;
        File.WriteAllBytes(Application.persistentDataPath + "/Photos" + "/" + filename, bytes);
    }
TakeScreenShot,SavePhoto는 각각 화면을 캡처, 캡처된 이미지를 저장 하는 역할을 하는 함수입니다.TakeScreenShot함수를 통해서 메인 카메라에 렌더링 되고 있는 장면을 PhotoDownload에 입히고,SavePhoto함수를 통해 PhotoDownload에 그려진 텍스쳐를 지정된 경로에 파일로 저장합니다.- 모바일을 기반으로 진행되어 디바이스의 화면 크기대로 저장됩니다.
-
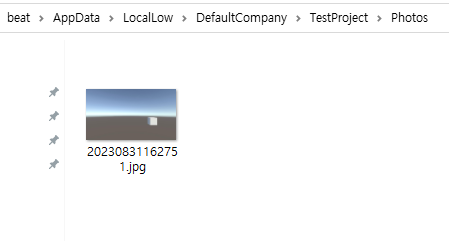
파일 이름은 현재 날짜를 기준으로 jpg로 생성됩니다.
테스트
계층구조창에서 빈 게임 오브젝트를 생성하여 이름을 ScreenShotManager로 변경하고 위 스크립트를 연결합니다.
RawImage 오브젝트를 하나 생성하여 스크린의 크기와 동일하게 만들어 준 후 PhotoDownload 변수에 연결합니다.
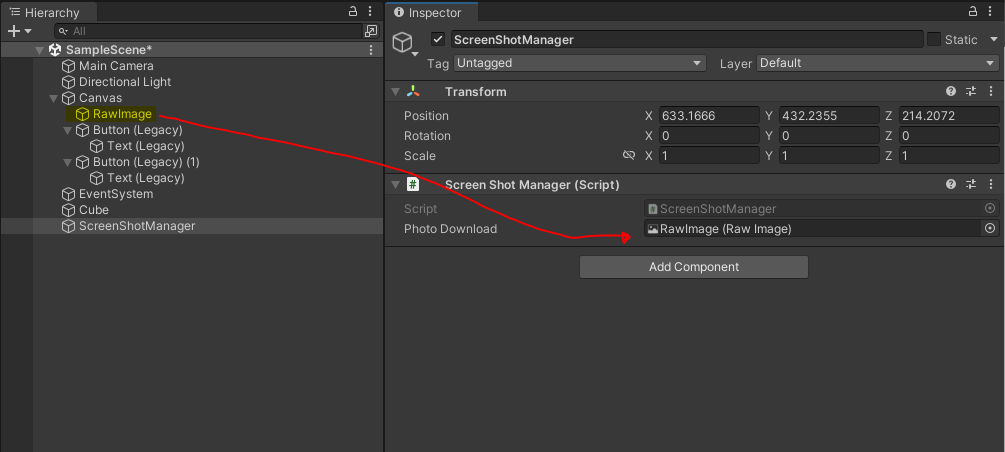
<01.>
버튼을 두개 만들어서 첫번째 버튼에 TakeScreenShot 함수, 두번째 버튼에 SavePhoto 함수를 연결합니다.
화면을 찍는 동시에 파일로 저장하기 위해서는 두 함수를 순서대로 호출하면 됩니다.
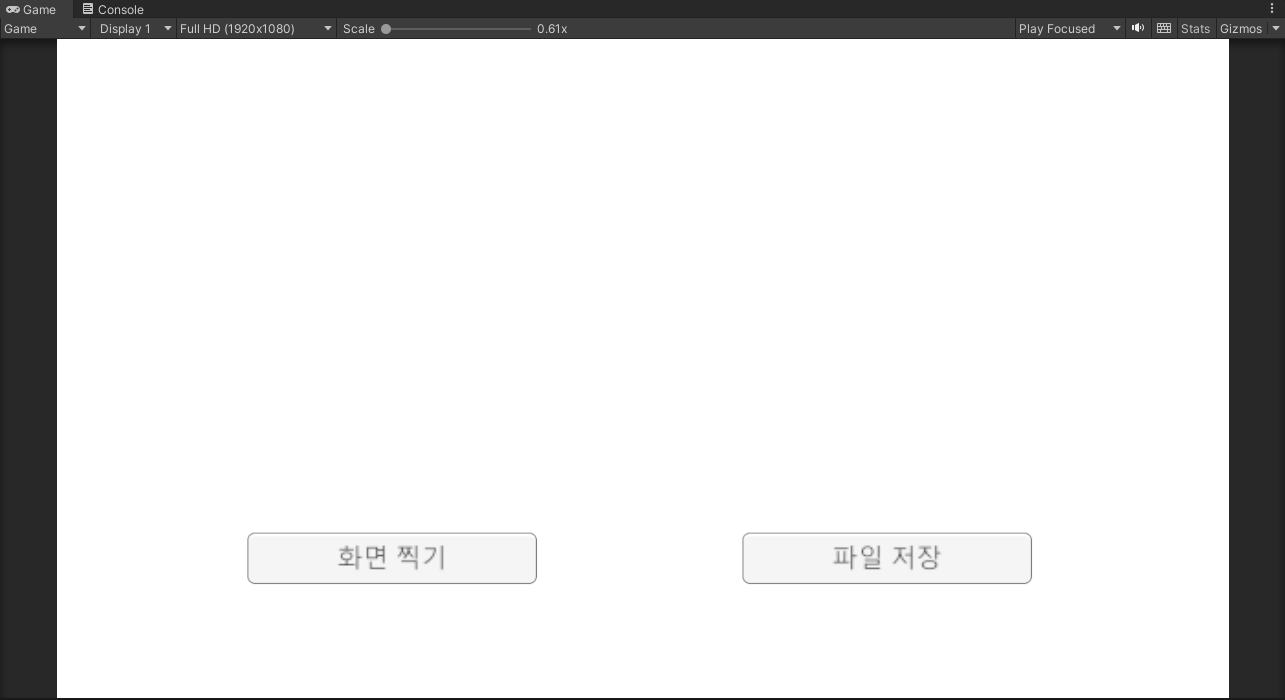
<02.>
메인 카메라 앞에 cube 등의 물체를 배치합니다. 카메라에 잘 잡히는지 씬창의 우측 하단에서 확인합니다.
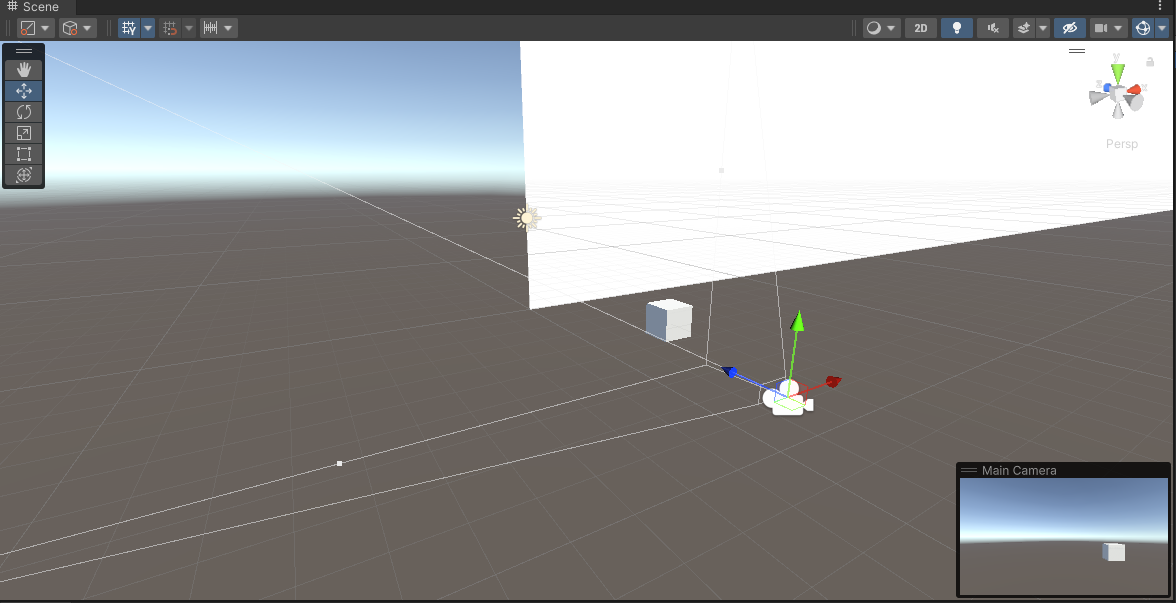
<03.>
먼저 화면 찍기 버튼을 눌러 RawImage에 캡처한 텍스쳐가 잘 표현되는지 확인합니다.
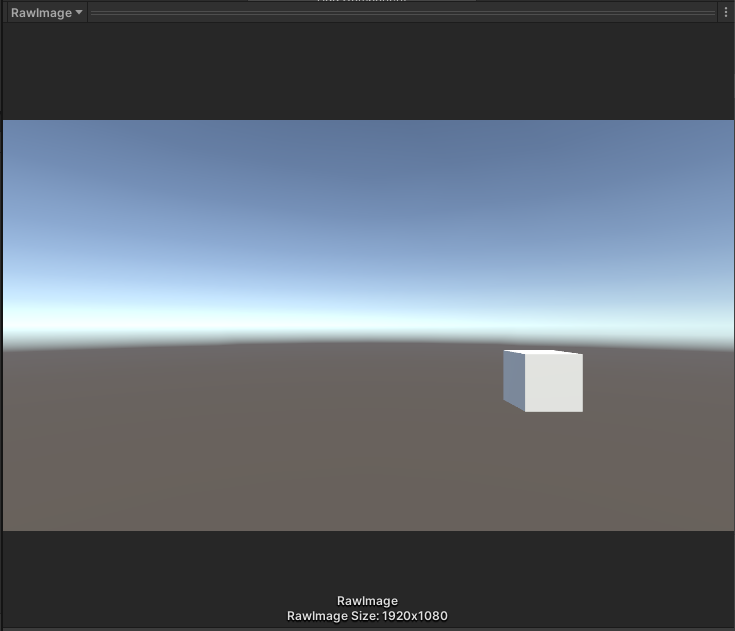
<04.>
저장하기 버튼을 눌러 지정한 경로에 저장이 되었는지 확인합니다.
<05.>